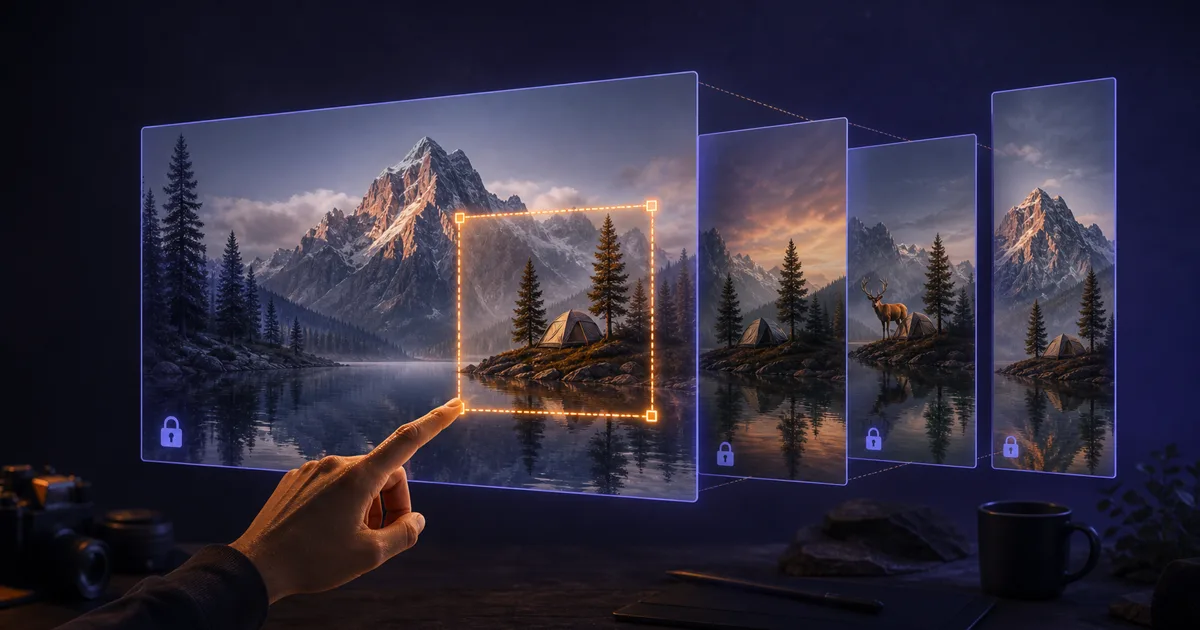
Edit the Image, Keep What Works
How to edit images with GPT Image 2 without losing the good parts: define invariants, make one change at a time, use selections well, create variations, and recover when the image drifts.
 Fabian Mösli
 Reading Preferences
Key Takeaways
- • Describe the change and the invariants separately. The model needs to know what to edit and what it is not allowed to reinterpret.
- • Make one meaningful edit per turn and branch from a clean source image. Repeated edits accumulate drift even when every instruction says to preserve the original.
- • Use ChatGPT for semantic changes and generative reconstruction. Use a deterministic editor when exact pixels, vectors, layers, or editable typography matter.
In this guide
Creating an image from scratch is forgiving. Editing one is harder. You already have something worth keeping, so every improvement comes with the risk of damaging it.
GPT Image 2 is very good at understanding edits in ordinary language. Replace the background. Add an object. Change the time of day. Turn a sketch into a finished scene. Combine four product references into one photograph. The OpenAI API guide supports image edits, multiple reference images, masks, and multi-turn workflows.
That does not make it Photoshop with a chat box. A traditional editor changes known pixels through explicit operations. A generative model creates a new image that tries to satisfy your instructions while staying faithful to the input. The cup can move a little. A face can change. A label can acquire a new letter. “Keep everything else identical” is a strong request, not a mathematical constraint.
The skill is controlled change.
This guide continues the orange espresso-cup example from part one. You can use the same method with a photo you took, a visual you generated elsewhere, or several reference images.
Step 1: keep a clean source
Download the best image before editing it. Give it a boring name such as coffee-campaign-base.webp. That file is your checkpoint.
Then decide whether you are making a new branch or continuing the current one:
- Branch from the base for independent ideas: alpine background, breakfast version, evening version.
- Continue the current edit when one change depends on the previous one: add a croissant, then adjust its shadow, then reduce the crumbs.
This small distinction prevents a common mess. People make twelve edits in one conversation, dislike edit twelve, then discover the cup had already changed shape at edit four.
Think like version control: base, branch, compare, keep the winner.
Step 2: write the edit and the invariants
An edit prompt has two jobs:
- Say what changes.
- Say what remains fixed.
Use this pattern:
Change:

Keep unchanged:

Allow only where physically necessary:

Do not add:
For the first edit, I wanted to move the scene into a Swiss train without touching the product:
Change:
Replace only the distant background behind the tabletop with the softly
blurred interior window view of a quiet Swiss alpine train at dawn: a dark
window frame, distant blue mountains, and first warm light on the horizon.

Keep unchanged:
The burnt-orange ceramic cup's shape, glaze marks, position, scale, camera
angle, focus, and colour. Keep the dark stone tabletop, green cardamom pod,
folded linen, composition, and negative space.

Allow only where physically necessary:
Subtle reflected light on existing surfaces.

Do not add:
New objects, text, or logos.
That is deliberately repetitive. In creation prompts, repetition often adds clutter. In editing prompts, repetition protects the hierarchy.
Look closely and you will still find small differences in the cup’s highlights and surface detail. The edit preserves identity well, but it is a new render. If the exact glaze pattern were legally or commercially important, I would composite the original cup into the new background in a conventional editor.
Step 3: make one edit per turn
Do not ask for an alpine window, a croissant, a vertical crop, warmer light, and a headline in one message. When the result fails, you will not know which instruction caused the failure. The model may also spend its attention reconciling your requests instead of preserving the original.
For the object-addition branch, I returned to the base image and gave one instruction:
Change:
Add one small flaky butter croissant on a simple charcoal ceramic side plate
in the lower-left area of the table. Do not cover the espresso cup.

Keep unchanged:
The cup's shape, glaze marks, position, scale, colour, focus, and coffee
surface. Keep the window light, background, tabletop, cardamom pod, folded
linen, camera angle, crop, and colour grade.

Allow only where physically necessary:
The croissant's contact shadow.

Do not add:
Extra food, crumbs, text, or logos.The result ignored one instruction: the cardamom pod and some background details shifted slightly. This is exactly why I do not describe editing as pixel-perfect. The right response is not a longer angry prompt. Decide whether the drift matters. If it does, select the addition area more tightly or composite the croissant separately.
Step 4: use the selection tool for local changes
In ChatGPT, open an image and choose Edit → Select. Paint over the area you want to change, then describe the edit. You can also skip the selection and describe the region in the conversation.
OpenAI’s current editor instructions make an important caveat explicit: highlights are not always precise, and the edit can extend beyond the selected area.
Use a selection when:
- the change has a clear physical boundary
- the surrounding composition is already right
- a text instruction could point to the wrong object
- you want to remove or replace one local element
Skip the selection when:
- the whole scene needs a new time of day or style
- the background change affects lighting across the image
- the model needs room to reconstruct perspective
- you are extending the canvas into a new aspect ratio
A tight selection is not always best. If you replace a chair, include its contact shadow and a little floor around it. If you change a window view, include the glass and frame. The model needs enough context to make the new material belong in the scene.
Step 5: create variations without losing the subject
A variation should name the stable identity and the new purpose.
For a vertical social asset, I used the base image as a reference and asked the model to extend the scene rather than crop the cup:
Recompose this as a vertical 9:16 campaign image by extending the same quiet
dawn café environment above and below. Keep the cup in the lower third with
generous clean space above for copy to be added later.

Preserve the exact cup identity: shape, glaze irregularities, burnt-orange
colour, coffee surface, and tactile realism. Preserve the dark stone, soft blue
dawn light, one cardamom pod, natural linen, and restrained editorial mood.

Do not add text, logos, extra cups, or scattered coffee beans.This is where generative editing beats a basic crop. The model can invent plausible space that never existed in the source. Check the invented area carefully. Repeated textures, impossible reflections, and warped architecture like to hide in the extension.
Step 6: label every reference image by role
When you upload several images, the model needs a job description for each one.
Image 1: edit target. Preserve its composition and lighting.
Image 2: product reference. Preserve this exact shape and label.
Image 3: style reference. Use its paper texture and colour restraint only.
Image 4: object to insert. Place it on the table with matching perspective.
Without those roles, “combine these” leaves the model to decide whether an image contributes subject, style, composition, colour, or all four.
The main reference patterns are:
- Edit target: the canvas you want to change.
- Identity reference: the person, character, or product that must stay recognisable.
- Style reference: lighting, medium, texture, colour, or visual rhythm.
- Insert: a specific object that should appear in the result.
- Composition reference: framing and spatial relationships, without copying the subject.
For client work, make sure you have the right to upload and reuse every reference. A public image on the web is visible, not automatically licensed as creative raw material.
Step 7: know when to restart
Editing drift accumulates. Watch for four signals:
Identity drift: The face, product, garment, or character is becoming a cousin of the original.
Style drift: The image is getting glossier, flatter, warmer, or more illustrated with every edit.
Composition drift: Objects move even though the local edit did not require it.
Text drift: A label that was correct becomes misspelled after an unrelated visual change.
When one appears, stop. Return to the last clean file and apply the new edit there. Do not spend five turns asking the model to recreate a version you already had.
I keep a simple branch record:
base
├── alpine-background-v1
├── breakfast-croissant-v1
└── vertical-story-v1
The filenames are ugly. They save time.
What GPT Image editing replaces, and what it does not
Generative editing is already the fastest tool I know for several jobs:
- replacing a whole background with matching light and perspective
- adding or removing a believable object
- changing season, weather, or time of day
- extending a canvas
- turning a sketch into a finished visual
- restyling a concept into a different medium
- composing several product references into one scene
I still reach for a deterministic editor when I need:
- exact pixel selection and repeatable colour values
- editable typography
- vector shapes and logos
- layers other people can inspect
- print production with bleed and colour-management requirements
- a product or face that must remain literally identical
- ten assets that need the same grid with only one field changed
The useful workflow often combines both. Let GPT Image create or reconstruct the hard visual material. Use Photoshop, Affinity, Figma, PowerPoint, or another suitable tool for the exact assembly.
Editing people requires a higher bar
Do not upload someone else’s face and treat consent as a prompt setting. OpenAI’s service terms for visual capabilities require the necessary rights and express consent for reproducing a person’s likeness. Your local law, employment context, and purpose can add stricter duties.
For business work, ask:
- Did the person agree to this use, not merely to the original photograph?
- Could the edit misrepresent what they did, wore, endorsed, or said?
- Is the output being used in a sensitive context such as health, politics, employment, or finance?
- Does the audience need an AI-edit disclosure?
If the answer is unclear, use a fictional subject or commissioned material. A model’s willingness to make the edit says nothing about your right to publish it.
A practice exercise that exposes drift
Take one low-risk image and save it as a base. Make three branches:
- Replace the background.
- Add one object.
- Change the aspect ratio by extending the scene.
Put all four files side by side. Compare the main subject’s shape, colour, small details, shadows, and position. You will see what the model preserves well and where it quietly reinterprets the source.
That comparison builds better intuition than another list of prompt phrases.
The final part, Put Generated Images to Work, takes these creation and editing habits into presentation visuals, reusable brand systems, and automated API workflows with a human approval gate.
Published: 2026-07-18
Last updated: 2026-07-18